Easy Sew Tissue Covers by Lynn

Lynn is a great fabric crafter, and has created many quick and easy gift items.  I think everyone can use a tissue cover for those handy little tissue packets.
These take 4 – 4X6 pieces of material. You can make 3 out a 1/4 yard of fabric.
Take 2 of the pieces and put them wrong sides together, fold and press the other 2 in half wrong sides together along the short sides.

Put the folded pieces on top of the other pieces overlapping about 1/8 inch.

Sew together using a 1/2 inch seam, trim edges with pinking shears.


Turn right side out and you are done.

I am personalizing some for the family by adding a strip of Aida cloth with their name on it to one of the folded pieces before assembling (glue it down with fabric glue).

Easy Sew Purse or Tote Bag by Morgen

Once again, I am featuring a tutorial from a friend.  Morgen has been making and selling purses for quite some time, and has created a very successful small business.  Her purse tutorial is similar to many others you might have seen, but she has created some short cuts to save time.   This style is extremely popular right now, and with just a little time and some beautiful fabric you can have your very own.  Here is Morgen’s tutorial
Find some fabric you like.  Cut two rectangles, one of the exterior and one of the lining.  The measurement will depend on how deep and how wide you want it.  My favorite purse size starts with a rectangle about 26 inches by 13 inches.

Fuse interfacing to both the exterior and the lining.  I use Pellon Decor Bond.  If you are going to monogram your purse, do it now.  Also, if you want a pocket, now is the time to sew that on.  I make mine by cutting a rectangle and fusing it with interfacing.  Sew a piece of lining to it (right sides together) and leave the bottom of the pocket open.  Clip corners, turn, press.  Press your opening under.  Now, attach the pocket to the already-fused lining.  Sewing it on will close the opening you left when you turned it.  My pocket for this size bag would start with a rectangle roughly 8 inches wide by 6 inches tall.  I center it by folding the lining fabric in half and placing the pocket directly in the middle of that.


Fold your rectangle in half and sew the sides.  Do the same for the lining fabric.  These should be indentical in size when you are finished.

Flatten the bag out so you can make a triangle at the bottom (it will have your side seam directly in the center) and measure how much of a base you want your bag to have.  Mine average 3 inches for my purses.  Pin (if you need to) and sew across.  I use my face plate on my sewing machine as a measuring guide and I don’t mark anything.  But then, I am not a perfectionist and the bags all seem to come out okay.  Do this to your exterior and interior (4 triangles) and cut the excess off when finished sewing so you have the same seam allowance you have on the sides.

Woops, they aren’t cut off in this picture.

Now, turn your exterior fabric right side out.  Put the lining inside of it.  Fold down the tops so they’re even (iron if you want) and pin to make a nice neat top.

Now you need to make your handles.  Mine start as a strip of the exterior fabric, 4 1/2 inches by 22 inches.  Fuse your interfacing to this.  Cut in half lengthwise (now you have 2 strips, each 22 inches long by about 2 1/4 inches wide.  Iron these in half lengthwise.  Open them up.  Fold in raw edges to touch at the ironed line.  Iron these down and fold in half again on that original ironed line.  Sew close to folded edges.  I didn’t photo this step since I make them the same way Connie does.  I will try to find some pictures.  Stick the handles in the top of the bag between the exterior and the lining.  Make sure they look even and are both the same length.  Pin them.  Sew around the top.  Be careful at the side seams, I have broken a couple needles in my day!!  Add any ribbons or trims you want (And remember that every time you sew over the handles you are reinforcing them!)  Also remember that your bobbin thread will show on the lining so coordinate your colors!  There.  Clear as mud?!!?!?  Please ask if you have questions or I missed a step or two or five.

Easy Sew Plastic Bag Holder

I love to feature craft tutorials by my friends.  This is one of many that Lynn has put together for the Bobbibopstuff craft forum.  Lynn does such a great job on her tuts, and I find them very easy to follow.

These make perfect gifts, and can be kept in an accessible place in your home, and you can take it with you next time you go shopping so you can re-use all those plastic bags.

These are quick, easy and inexpensive to make.  They can be made out of a fat quarter (.99 on sale at Joann’s) and 2 pieces of 9″ elastic (about .25).

You will need to cut: one piece of fabric 15 X22 for the bag, one piece 2.5 X 12 for the hanger and 2 pieces of elastic 9 inches each.


Fold the body of the bag in half right sides together along the short sides.

Sew up long side of bag using a 1/2 inch seam, press open. Fold under raw edges 1/4 inch, press then fold again 3/4 inch to make casing for the elastic. Sew up casings using a 1/8 seam leaving opening for elastic. Insert elastic and stitch openings closed.

For the hanger turn under raw edges on short sides, press in half wrong sides together on long side, then open and fold sides towards center, fold in half press and stitch (clear as mud right?) attach hanger to bag at seam.

Taa-Daa all done.

No Sew Blanket Knot Tying

Here is a great way to finish the edges of your fleece blanket project – Without having to sew!

You start out by cutting the fleece just like if you were going to tie the fringe. Next fold the fringe up and make a very small clip in the center of both pieces vertically, aligned with the fringe cut:

Then push both pieces through the little clip from the top of the blanket through to the back, pull all the way through but not too tight:

It takes longer than if you were to tie them but I like it better because the edges are smooth.

You can see my No-Sew, No Tie Fleece Blanket YouTube Video here, and Here.

Let me know how you like it.

No Sew Fleece Hat With Lots of Attitude

This sassy little fleece hat is ultra warm, and lots of fun to wear.  Best of all, it can be made from scraps of fleece and there is no sewing involved.  You can make it to fit any size head.

finished hat

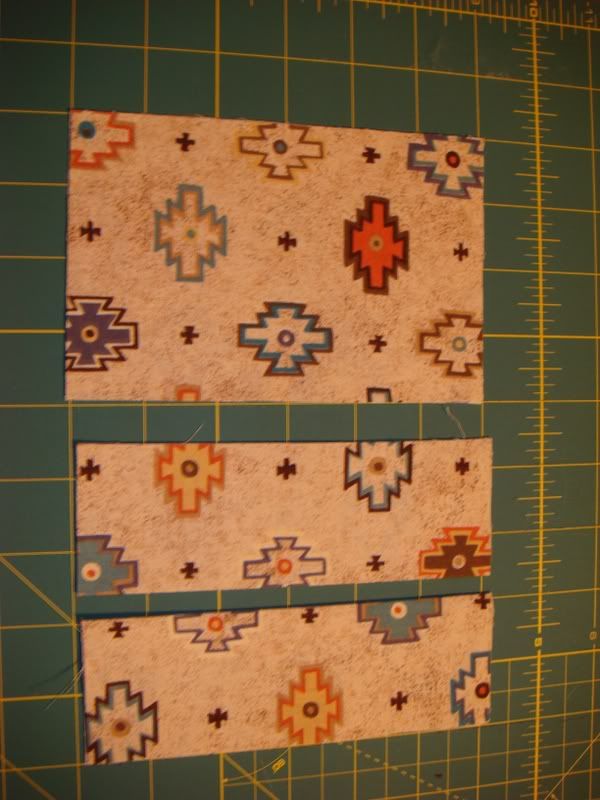
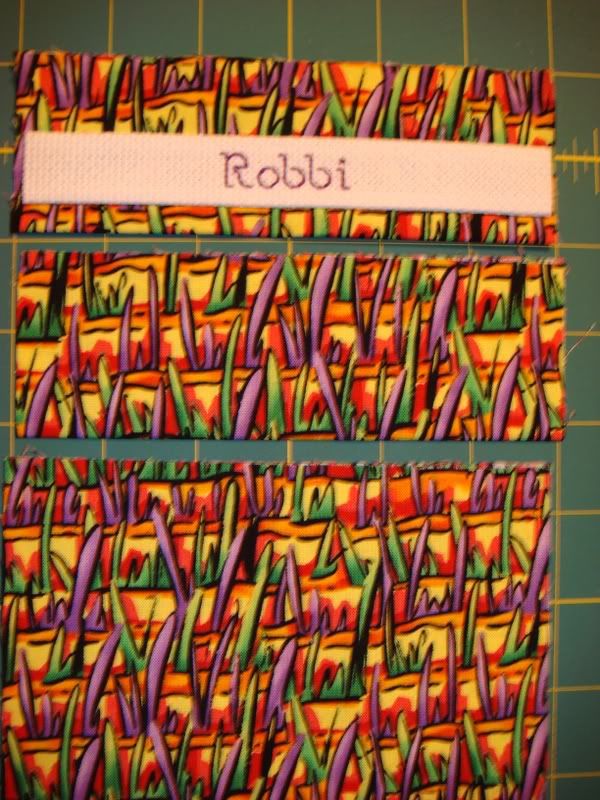
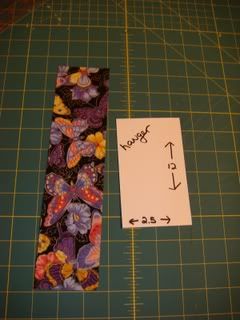
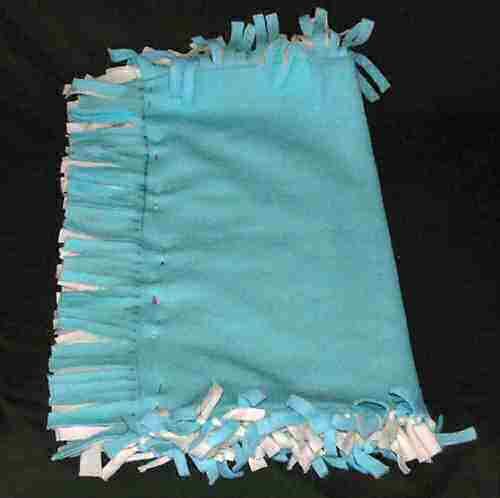
You need to start with two pieces of fleece.  Measure around the head then add 4.5 inches.  This is the width or circumference of the hat.  For the height, you will need 7 inches plus the length of the tassel.  I made mine about 5 inches.   My rectangle was 26.5 x 12 inches.  The photo I’m showing here is more square looking because I made a similar hat with a longer tassel on the top.

fabric
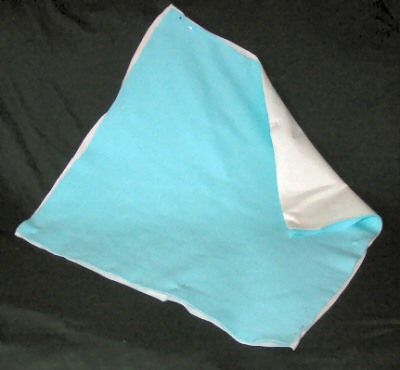
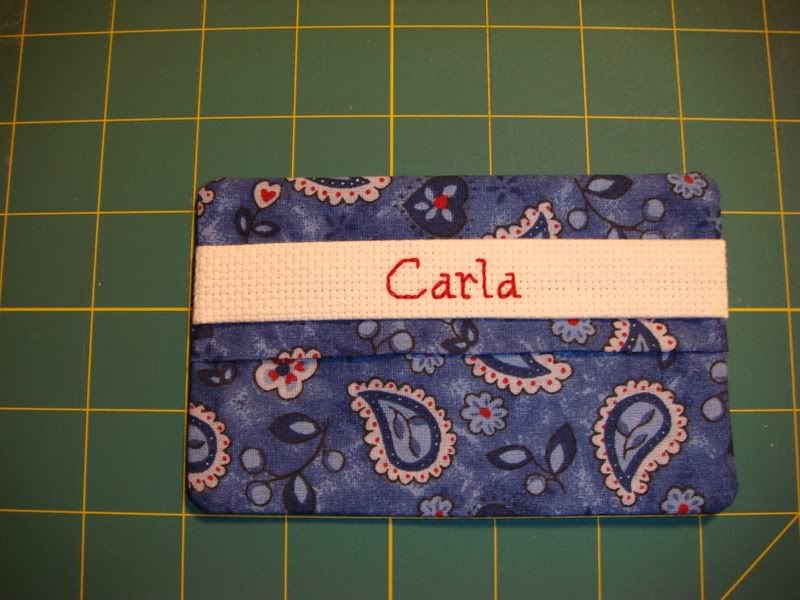
You will want to cut two rectangles.  I wanted a multi color hat, so used two different colors.  Place your two pieces of fabric together and pin in a few places to secure.  Make sure you place the pins at least 3 inches away from all edges.  I used straight pins, but you may want to use safety pins.  I poked myself several times during the tying process.

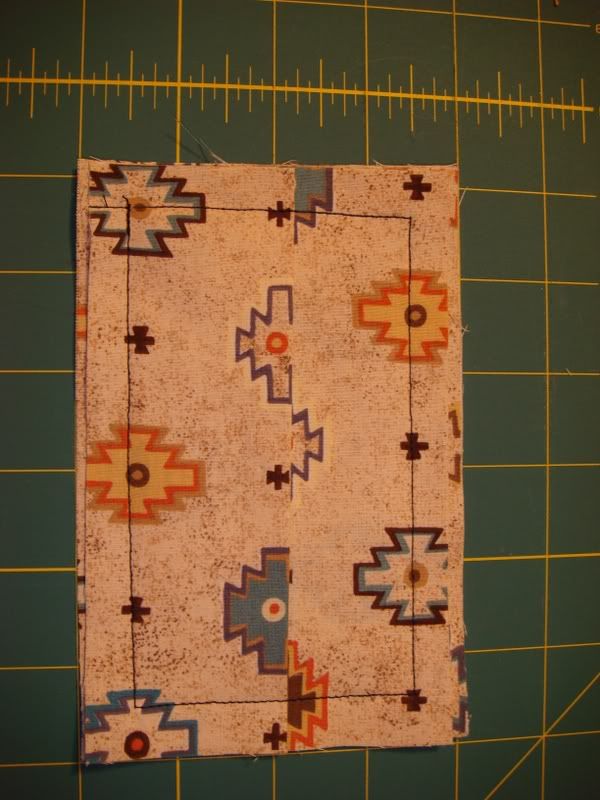
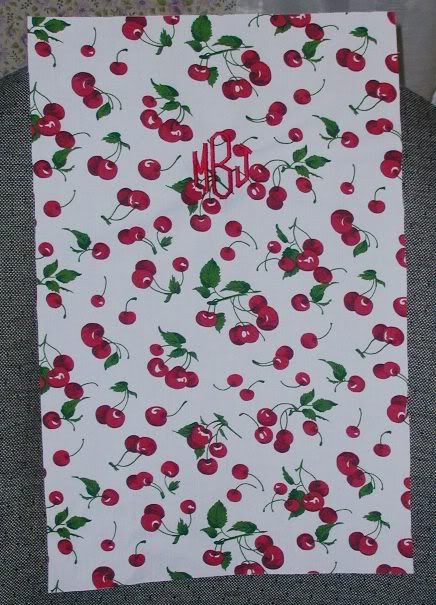
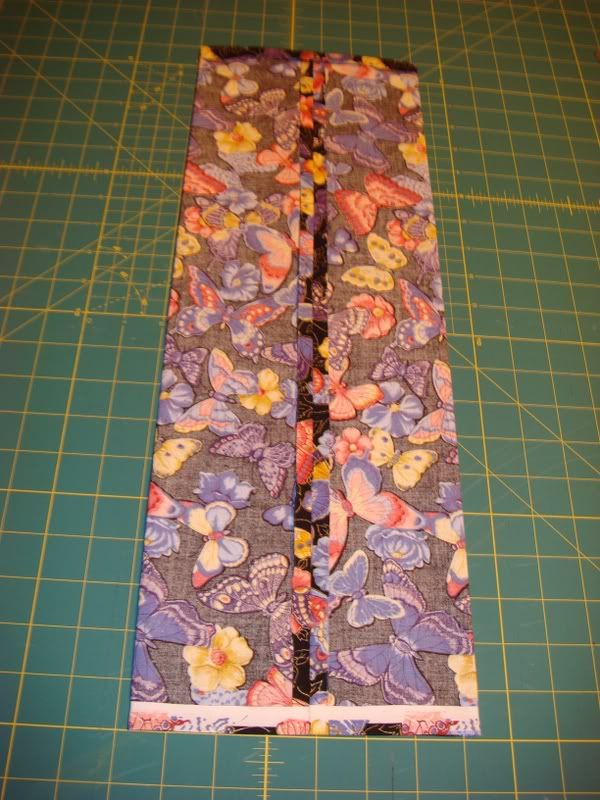
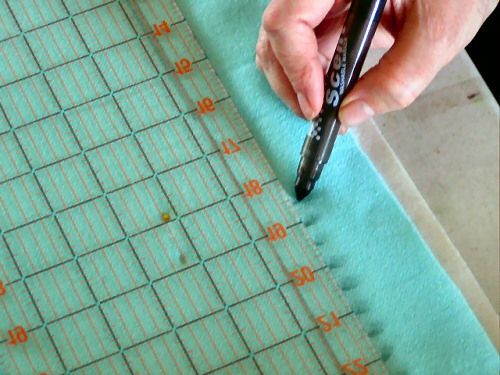
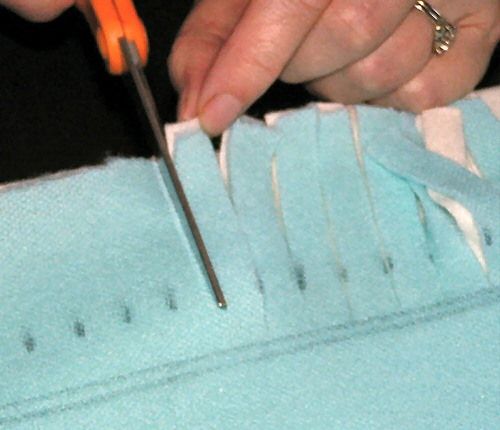
Now, measure and mark for the strips you will be cutting.  I used a permanent marker here so you could easily see the marks in the photos.  When the hat was completed, the marks didn’t show, but I would recommend a washable marker or tailors chalk.  You will want to measure 2 inches in on the bottom and front of the hat, and as many inches in on the top edge as the length of the tassel.  Then, make a mark every 1/2 inch.

mark cuts

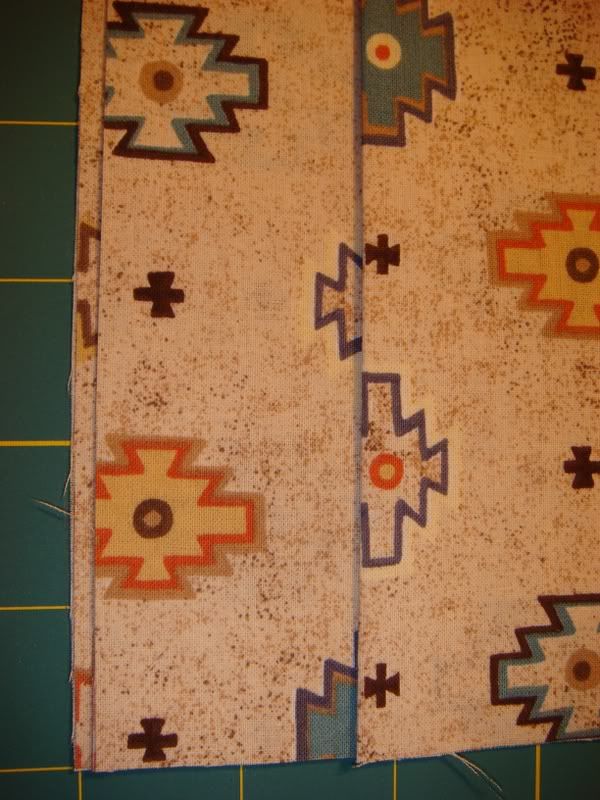
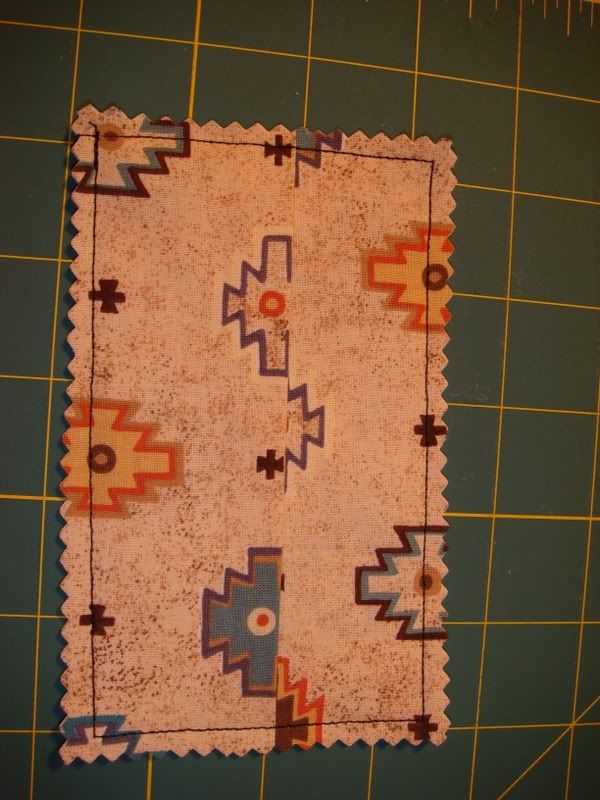
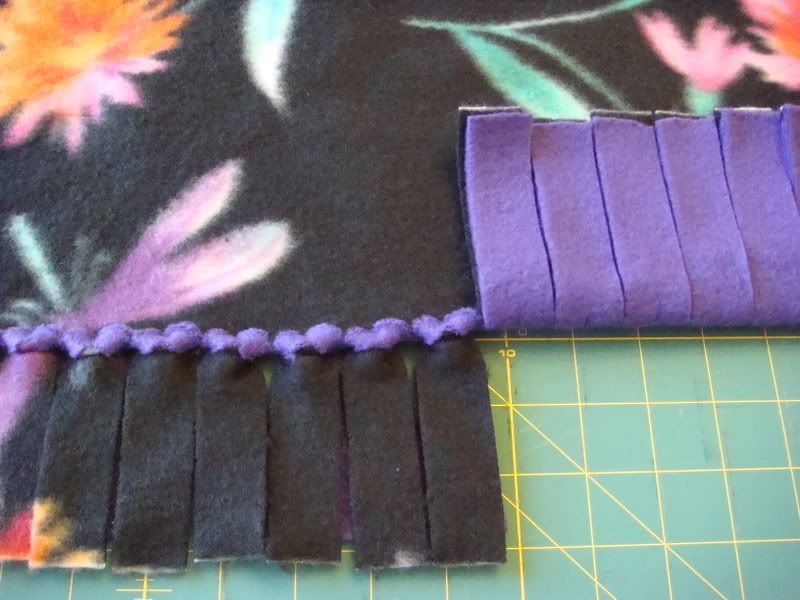
Next, you will cut strips all the way around, making sure to cut evenly and through both layers.

cut

When you get to the corners, cut out the entire corner.  This should happen naturally, as the cuts come together.

cut out corners

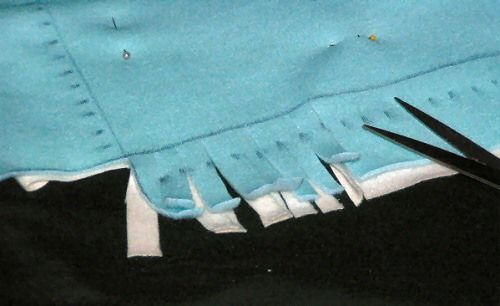
Your cut out pieces will look a bit like this.

all cut

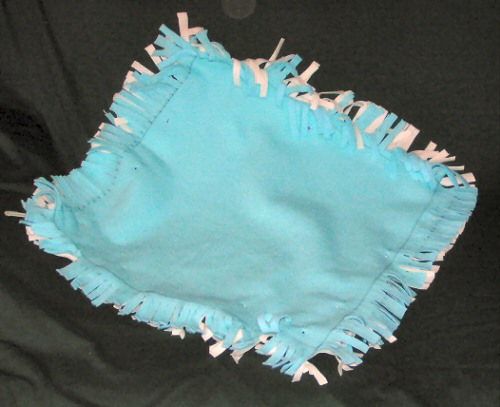
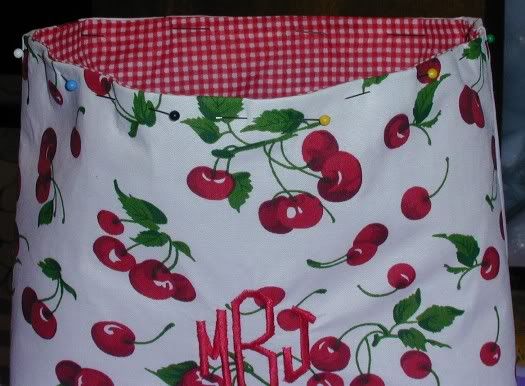
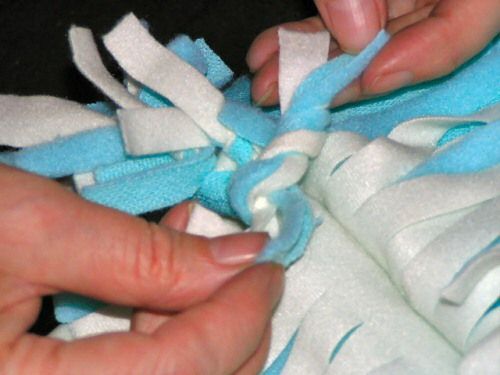
Now, you will begin to tie the bottom of the hat together.  Find the bottom, and begin tying the outer and lining pieces together.  I chose a “granny” knot because I wanted a ruffly look.  Tie every strip all along the bottom.

begin tying

When done it should look like this

tie bottom

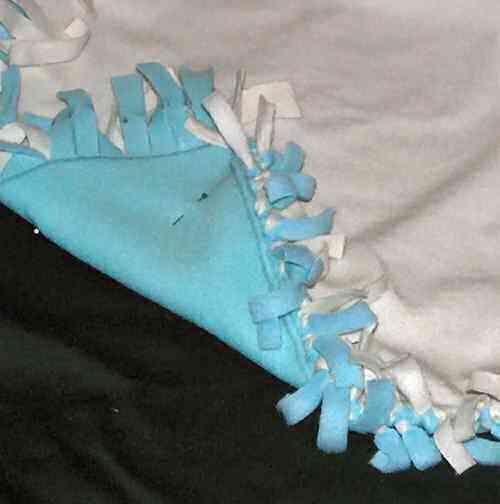
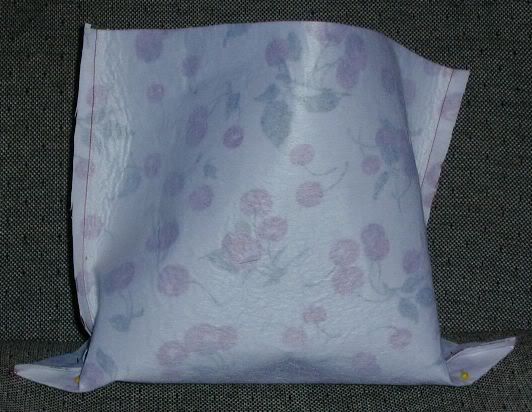
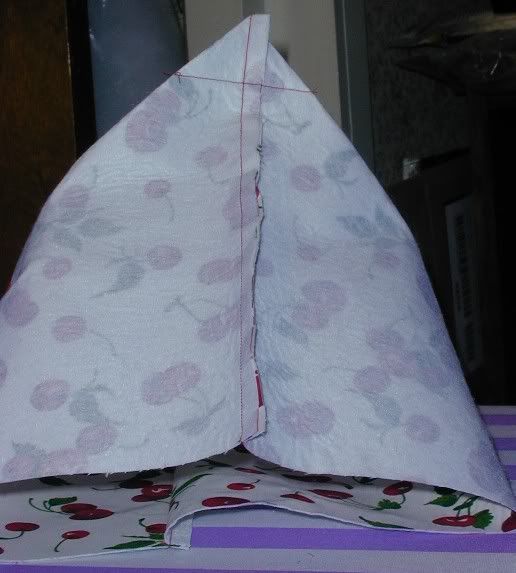
Now, fold the hat in half with the right side out.

tie front

Pin the 4 layers together, matching the strips as closely as possible.  Now you will begin to tie the two sides together.  Each tie should have two strips of each color that you tie together.  Again, I used a simple knot.

tying front

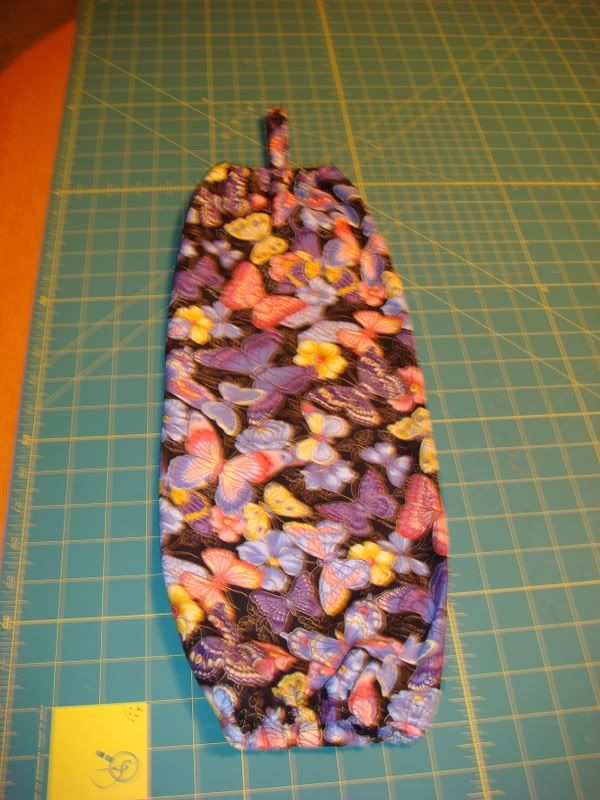
When you have tied the front of the hat, remove all your pins.  You are almost done.  Cut another 1/2 inch piece of fleece, or you can use yarn or a ribbon.  You will need a piece about 7 or 8 inches long.  Gather the top of the hat just under the strips and tie tightly with the strip of fleece (or yarn/ribbon)

DONE!

These hats are super warm because of the double thickness of fleece.  If you make your top strips longer, you will have the look of a pony tail, and shorter makes a cute little tassel.  My photo is of a medium length.

This design is my own and the pattern and design is copyrighted.  You may make these for your own use and gifts, but not for commercial gain.