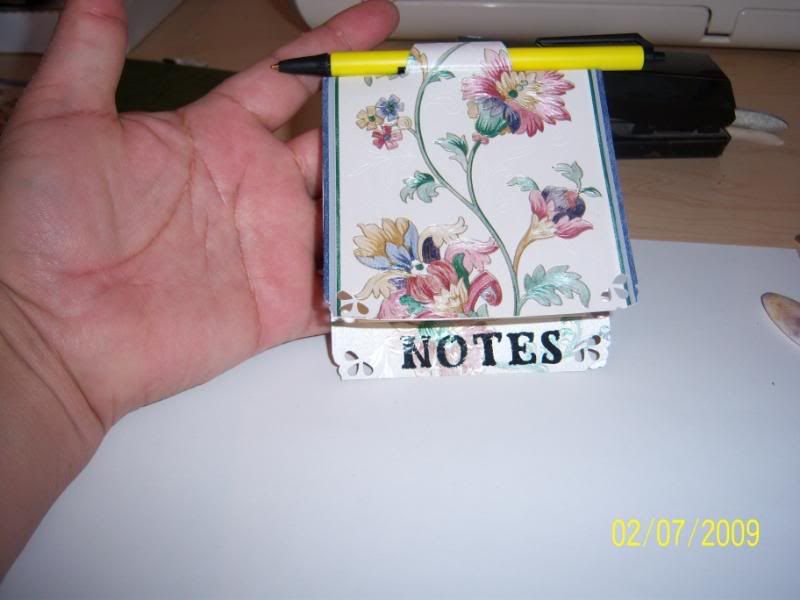
This tutorial was done by a dear friend. Maria is a Native American and is an extremely talented paper artist. This is her first tutorial, and she was kind enough to share it with us. She has used wallpaper scraps to make this, but you could also use almost any other type of paper if you backed it with card stock to make it sturdy enough. If you make one, Maria has asked that you share it here so she can see your work. Mother’s Day is just around the corner. This would make a really cute gift for all the moms on your list.
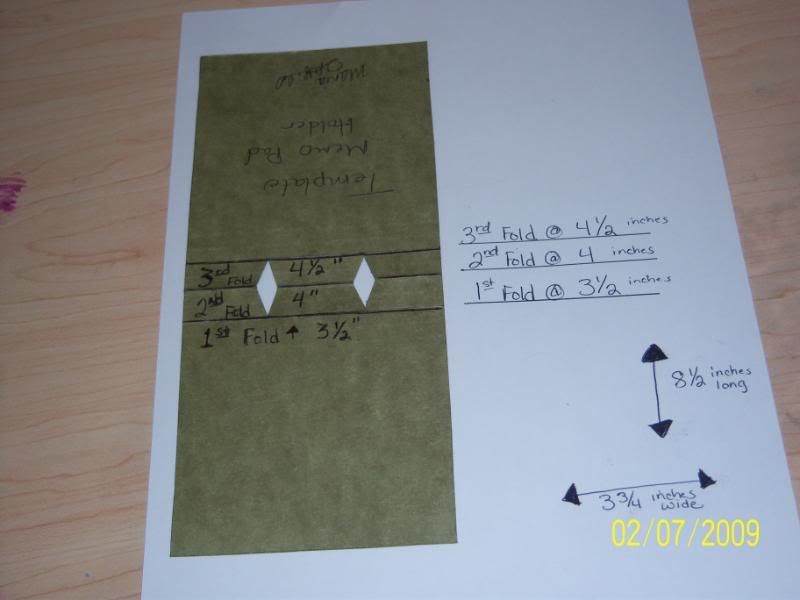
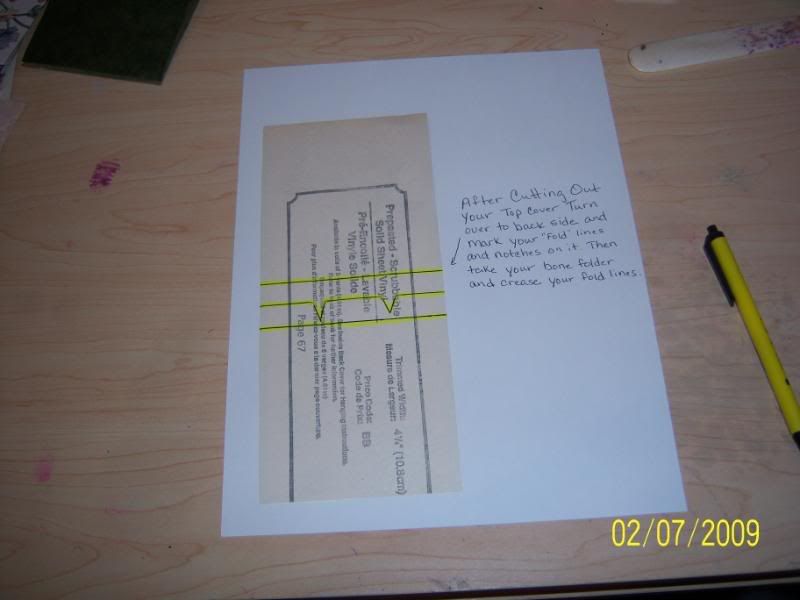
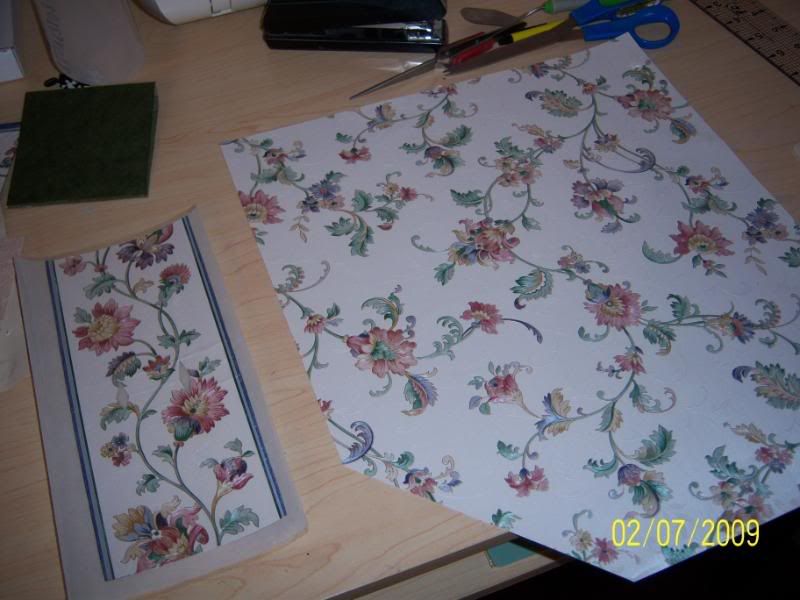
The first picture is of the Template, which is 8 1/2″ X 3 3/4″.
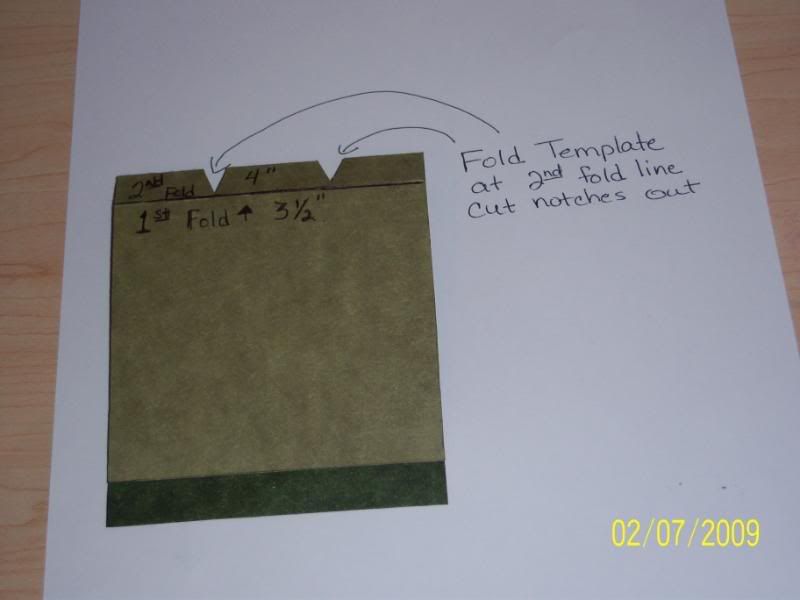
You’ll make the 1st fold @ 3 1/2″ the 2nd fold @ 4″ the 3rd fold @ 4 1/2″. On the 2nd fold is where you’ll cut your notches out.
Next find the wallpaper sample that you have chosen for your top cover. And lay your template on the back side of the wallpaper and trace around the template and cut out. Be sure to mark your fold lines onto the back side of the wallpaper.
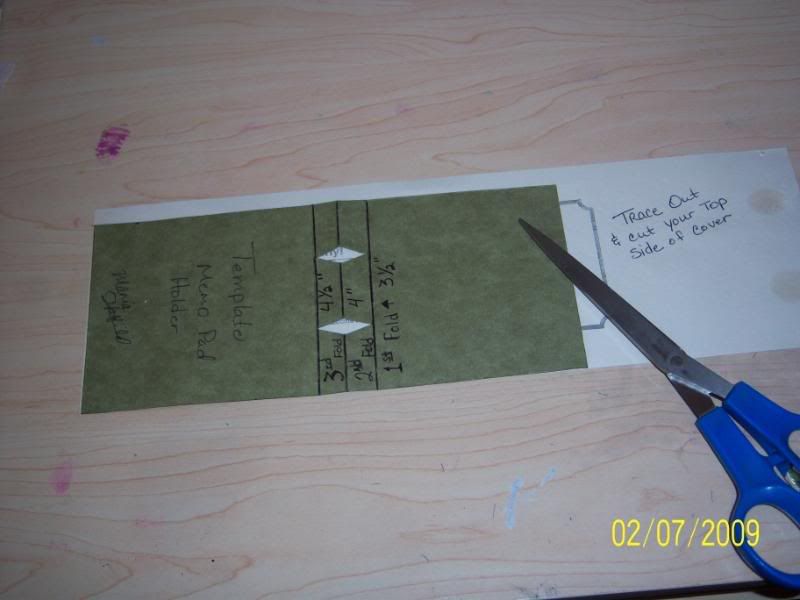
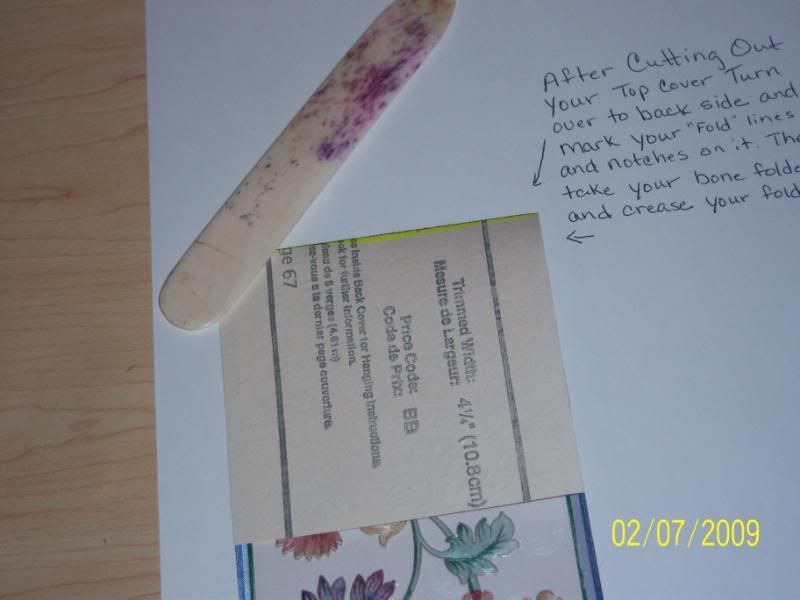
I highlighted the fold lines just transfer them to your wall paper on the back side then use your bone folder to mark them with or a pen.
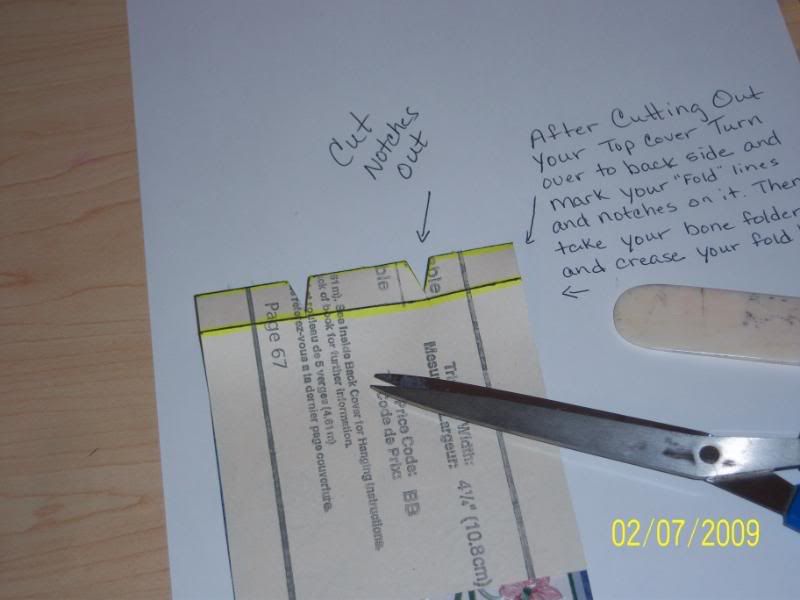
At this point use your bone folder and crease your fold lines then cut your notches out too.
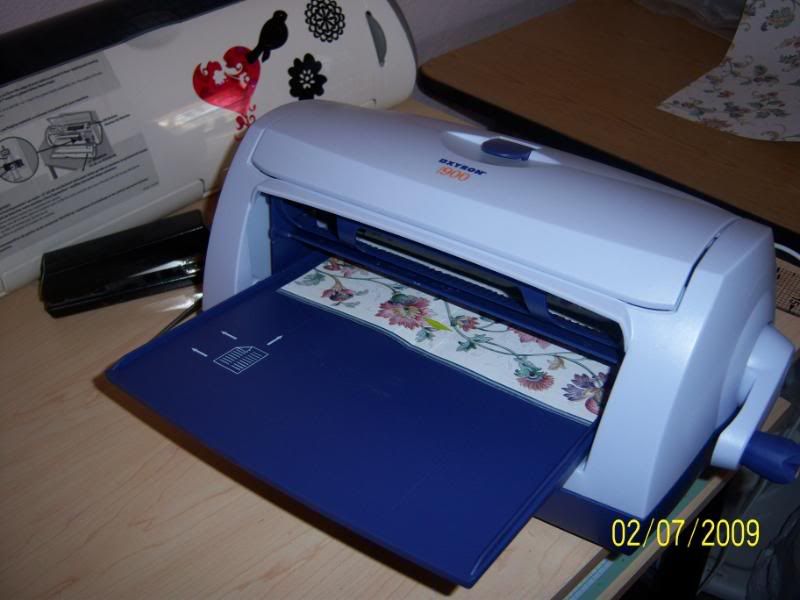
Then run your top cover of the wallpaper through your xyron machine or put some double sided tape on the back of the piece. Its just easier for me to run the piece through my xyron machine.
Next find your second piece of wallpaper that will be your inside of your cover piece.
Take your first piece and lay it onto the backside of your second piece and press down. Then cut out around the pieces close to your first piece nice and neat.

Next find your fold lines (look close at your top piece) then take your bone folder and crease your lines real good and cut out your notches again.
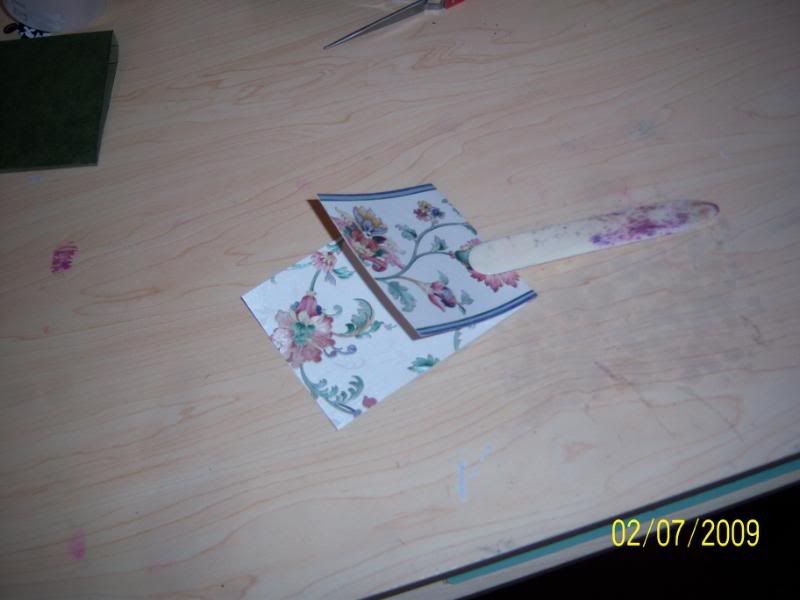
Once you cut your notches out you’ll be able to see the folds and where they should fold down into the cover so that only your middle fold is sticking up for your pen or pencil.

Next i take a stapler (you dont have to do this part) but it just keeps my folds on the inside of the cover down and out of the way. I staple up to the fold line.
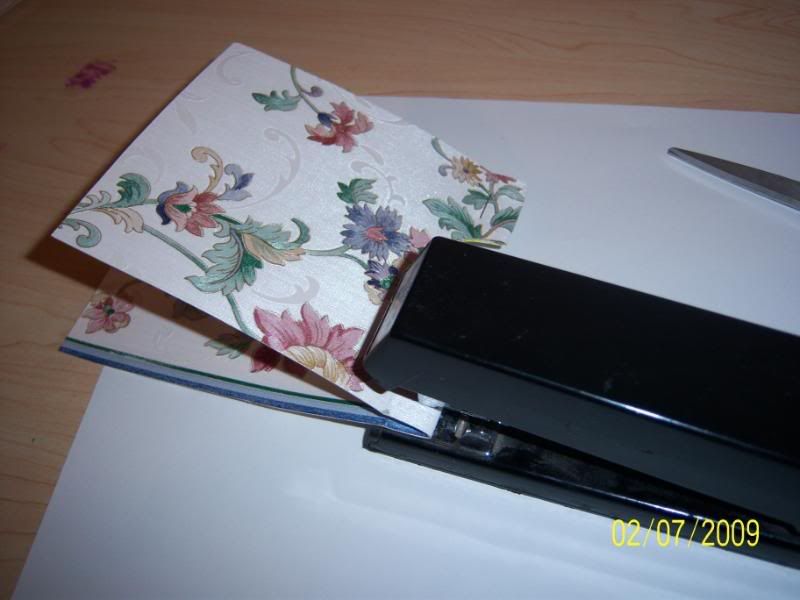
I take some red double sided tape and put them on the 2 little pieces i just stapled and tape them down.

I then put some double sided tape on the back side of the memo pad so that it stays in place.

I then take my corner punch and punch out all 4 corners but you dont have to do this part.
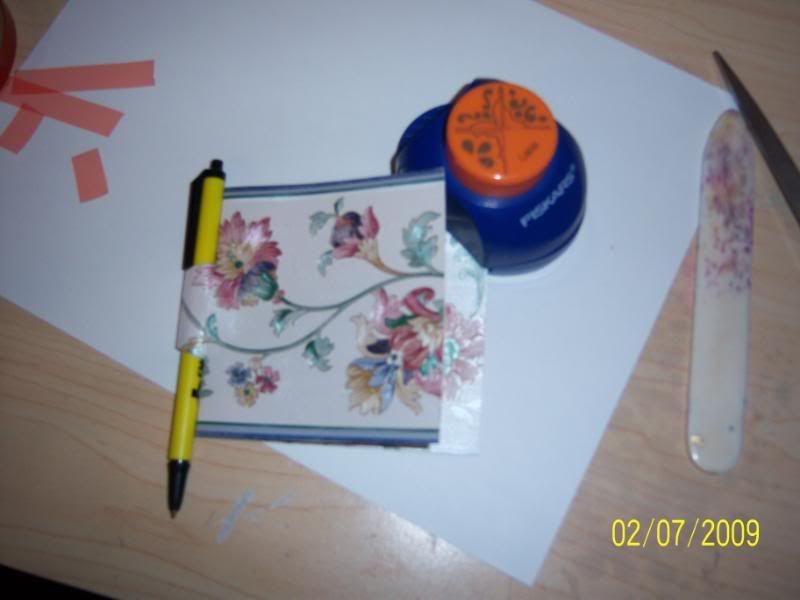
I then cut out some letters or words on my cricut machine and put them on the bottom or side of the memo pad cover and Wah-La your done. Of course you keep adding embellies to the cover.